Search Products


Browse by Category
Useful Links
- Tips and tricks
- Computer Tweaks
- Hardware Testing Your PC
- Tips for Dragon NaturallySpeaking
- DNS hacks
- Dragon NaturallySpeaking Cheat Sheet
- How do I make my computer better for photo editing
- How to boost your computers speed and longevity
- How to redirect your Windows User library
- System images for Windows 10 and 11
- Battery Optimization
- How to Repair Corrupted Windows System Files
- Unlinking OneDrive
- Computer Support
- Customer Testimonials
- About Us
- Who buys M-Tech computers
- Privacy Policy
How to create free space on your Solid State Drive
Is your SSD drive mysteriously filling up and suddenly you find yourself past or closing in on the 50% capacity mark? There are three items that usually are to blame for higher than normal drive usage.
Number one is the Hibernate feature accidently (we assume accidentally because every M-Tech Adviser makes the customer promise on a stack of .NET manuals never to use the Hibernation feature. None the less, that sneaky little program has a way of turning itself on. The more RAM you have the larger that file will be. It can be huge, 32GB files are not uncommon. So you need to get rid of this file and turn off Hibernation completely. Now searching for the file usually will not turn up any results, but that doesn't mean the file isn't there.
So in this portion, we will show you how to delete the hiberfil.sys file and how to turn off hibernation.
Delete Hiberfil.sys File
To delete this file, you have to use thecommand prompt to manually turn off hibernation. If you turn off hibernation via Power Options (which I will show you next), it will not delete the actual file itself.
Open a command prompt in Windows 7 by typing command in the search box. Right click CommandPrompt and choose Run as Administrator.

To turn off or disable hibernation, type the following command at the prompt:
powercfg –h off
This will disable hibernation and will remove the hiberfil.sys file from your system.
Number two is your Pagefile is taking up space. Now this can be tricky. If you don't have sufficient system RAM on your computer you need the pagefile to make up for the RAM you are lacking. So we will address this in two parts. How to avoid a pagefile by turning off Page Filing and for those who need a Page File we will show you how to delete the page file every time you turn your laptop off. This wont save you much space because you will immediately create another pagefile when you turn the laptop back on but if your needs are less RAM intensive the next time then you can assume the pagefile will be smaller as well. In any event leaving the pagefile on your drive has some small security issues. Don't worry too much about this since only Windows can make changes to this file. However, if you dual boot then there is a small back door method that can serve up your data to those knowing how to exploit this vulnerability.
Lets start by turning off the Pagefile system. This can be done if you have plenty of RAM. If you followed the recommendation of your M-Tech Technical Adviser then you likely have 32GB of RAM. If so then you are a slam dunk for turning off the page file. If you have 16GB or more then you can turn it off and just make sure that if you get "Out of virtual memory" errors you don't need to panic. Just reverse the process and the system will quit giving those error messages.
To turn off the page file in Windows 7 open your Control panel and change the
view from category to Large icons. Then look for 'performance and information',
click this option. Immediately on the left hand side of the window that opens
will be a menu. The top options is always pre-selected. Click this option, it
say 'Adjust Visual Effects'. The Performance window will open.The middle option
is Advanced. Select that. This will show you on the bottom half of that screen
the Vortual Memory option, Click and open the Change button.
Now, uncheck the option that allows for Windows to automatically manage your paging file. Then check the bullet mark for No Paging File and clik the 'Set" button. Go ahead and click OK and back your way out of the control panel. Reboot and you will see your SSD suddenly has a lot more space available. AND is a lot faster as well.
Next let work on just deleting the Page File when you reboot the system.
How to Clear Virtual Memory Pagefile at Shutdown
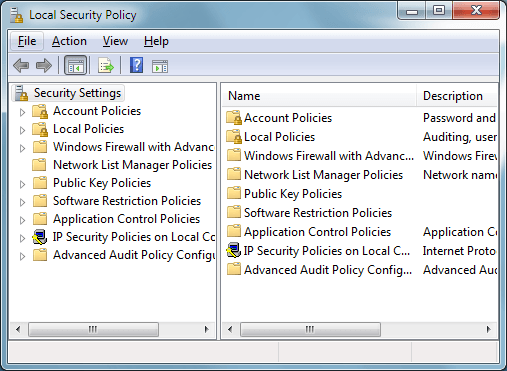
To force Windows 7 to clear the virtual memory pagefile at shutdown, begin by logging in to the operating system using an account with administrative privileges. Then, click on Start>All Programs>Administrative Tools>Local Security Policy. This will open up the LocalSecurity Policy options window.
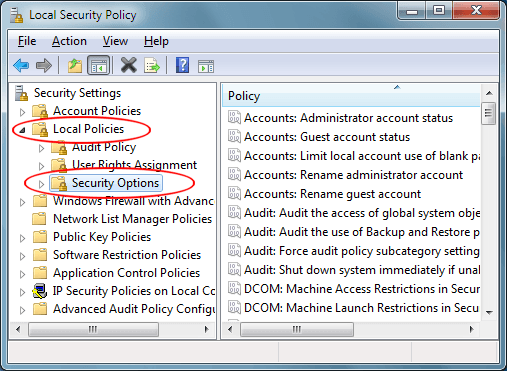
In the left hand pane, click on the Local Polices Folder and then click on the Security Options folder. This will display a variety of localcomputer security policies from which to choose for your PC.
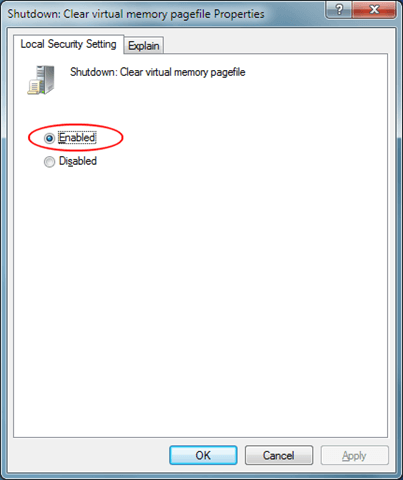
In the right hand pane, locate an option titledShutdown: Clear Virtual Memory Pagefile. Right click on this option and choose Properties.

On the Local Security Setting tab, choose the Enabled option. Click theOK button and now every time you shut Windows 7 down, your PC’s virtual memory pagefile will be cleared of all data.
The data left in your virtual memory page file is asecurity risk, especially if you dual boot your PC with another operating system besides Windows 7. By forcing Windows 7 to clear your page file, you have a more secure computer and there will be no leftover information in your page file to slow you down. In fact, many people report a generally better Windows 7 experience when they start each session with nothing in virtual memory.
Number Three and final cause of disappearing drive space is you have accumulated too many restore points on your computer. Now you can avoid this altogether by turning off System Restore. However, if you do not have a full System Image of your C drive hidden on another drive to replace a corrupt system drive with, then your only hope of recovering (and a fairly small hope it is) is the roll back to a previous restore point. This is a accumulation of some files and your registry settings.
First decide if you want to have System Restore active or not. If so then you just delete the system restore points up to a nearer date. You will also be better off if you tell your computer to only use a small % of the drive space. This way you wont overtake your drives space with recovery points.
Here is how to proceed with turning off and/or deleting those space hogging points.
-
From Control Panel open up the 'System' option
-
In the left pane, click System protection.
-
From here you can turn on or off system protection, delete restore points or even create restore points.

By turning off and deleting the current stash of restore points you can get back a lot of drive space. By keeping the protection in place and deleting the restore points you can create a current restore point and then draw the Max usage slider to the left and choose a percentage of drive space your comfortable losing on your SSD. This will depend on your drives overall size and how nervous you are about recovering from issues. We have never been a big fan of system protection, it always seems to offer false hope and then right when you think your golden, it tells you it was unsuccessful and to choose a different restore point. Needless to say, these points all give the same results. This is why we like to have a full clone or system image of the C drive, it always works because it is a full copy (100%) of your system drive and as long as the system worked when you made it it will work when you restore to it. To find out how to create a clone of your drive look for the article on Phase 3 Tweaks,
After all this is completed make sure to reboot the system to clean off the excess files.
Happy cleaning
Managing Your Users Directory
Of course, some files belong on your computer. A overlooked option for Window users is to change the drive that Widows automatically saves your user data to. On Win 7 this is called the User Library. If you do not do a Save As then browse to the alternate drive and folder to save your documents, music, images and video, they will be default be saved to your C: drive. Not good if you are using a SSD and need to keep the volume well below 50%. So here is a page with two different methods for changing what drive and what folder Microsoft chooses to save our files to without any intervention from you. We recommend reading both methods, Microsoft's has a very direct method but M-Tech's article will also show you how to create a alternate folder and directory structure so you have some place to redirect to.
How to change the location of your Windows user Directory
